

Tips For Replanting An Orchid
An orchid can be a difficult plant to transplant to a new location, since its roots can escape the pot and the leaves can become top-heavy. If you are planning to move your orchid, you will need to follow a few important tips for replanting an orchid. Read on to learn how to do this safely.
Read on to learn more about orchid replanting. Also, don’t forget to check for aerial roots.
You love your orchid. It’s been there for years, breaking out in flowers once in a while, but most importantly being an immaculate ornamental piece that brightens up the house you rent. Sadly the landlord raised the rent and your beautiful orchid must go. You need to move fast and repot the plant to a new pot before it wilts and dies.
Taking care of an orchid
Orchids are among the most widely spread and varied families of flowering plants. Their flowers are often fragrant and colourful. If you’ve ever wondered about orchids, there’s a good chance you’ve seen one. But how do you care for these beautiful plants? Read on to find out. Here are some helpful tips for caring for your orchid. And if you’re unsure about which orchid to choose, you can always ask a professional orchid expert for help.
Preparing it for replanting
Before replanting an orchid, it must be well-hydrated. Roots can break and cause damage if they are too moist, and the old potting soil will reduce drainage and increase moisture. Roots may also become top-heavy. To prevent these problems, here are some tips for preparing an orchid for replanting. Also, soak the new potting medium for at least an hour before replanting it.
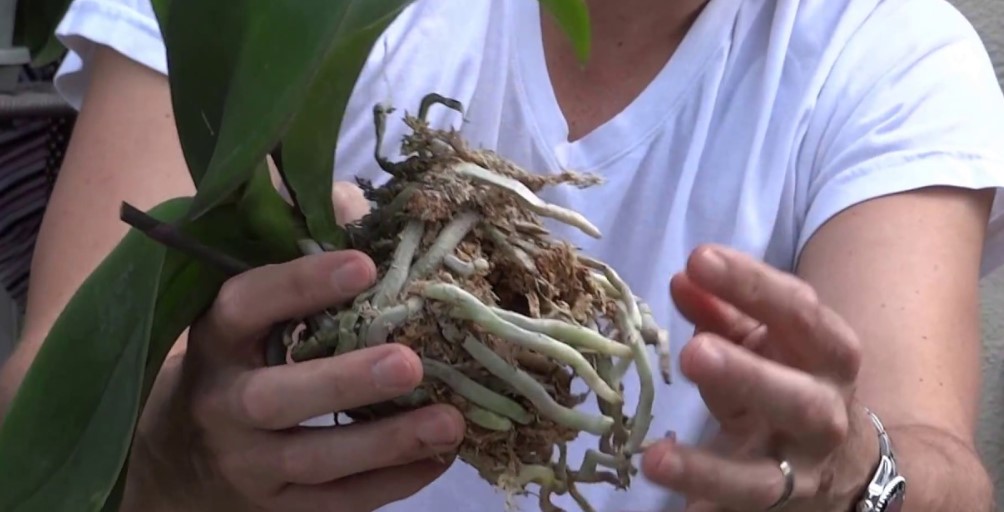
Seeing aerial roots on an orchid
Replanting an orchid with its original potting medium can be tricky. Aerial roots don’t grow directly from the stem; they tend to grow outward instead of up. If you notice aerial roots growing out, don’t panic! Aerial roots aren’t always harmful to the orchid – they will eventually die. They just need more time to outgrow. When they do, they’ll be visible.
Replotting it in a new location
Whether your orchid is an epiphyte or an ericaceous perennial, it is best to take care of its roots before repotting. These roots grow upwards, which is natural behavior for this species. When repotting an orchid with aerial roots, leave them alone unless the plants roots are damaged. If the aerial roots were already healthy and thrived in the air, it is likely that they will survive in their new location.
Keeping it in a shady area while it recovers
When it comes to caring for your orchid, a bright, indirect spot is ideal. It needs relatively cool temperatures and bright indirect sunlight to recover and grow. You should only water it when the top one-inch of its potting medium feels dry. Occasionally mist the orchid to simulate its natural habitat. If the orchid has yellow leaves, it may be suffering from stress and needs to be moved to the right conditions.
Repotting is necessary when potting medium breaks down
Orchids do not like to live in the same nourishing media for a long time. Over time, moss, peat, and bark break down, becoming compacted and retaining too much water. This not only causes soggy roots but also increases the risk of diseases. To avoid this problem, repotted orchids must be moved when they are still young. Here are the basic steps to repot your orchid.
Planting it in a new location
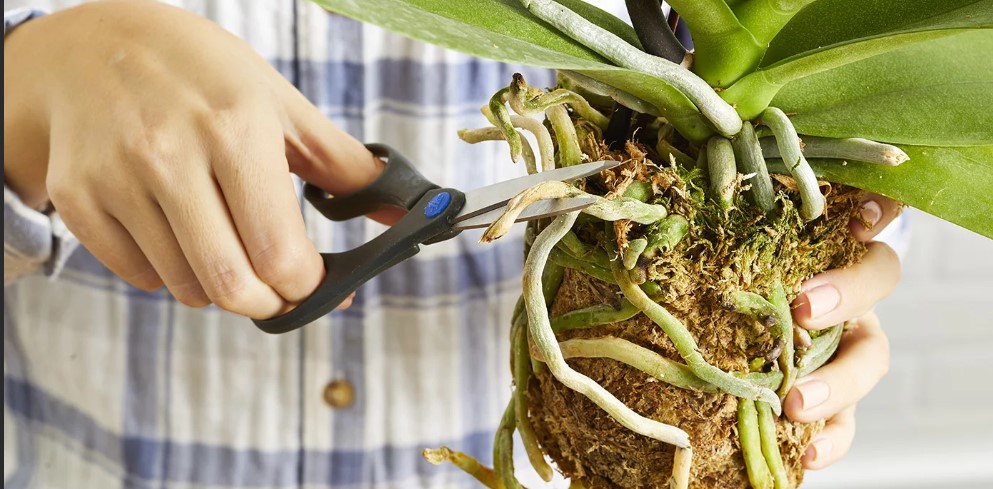
If you’re planning on moving your orchid to a new location, here are some things you need to know before you move it. Remove the old pot from the orchid, and clean the roots carefully. Make sure to cut off any roots that are dead, shriveled, or tangled. Gently lower the orchid into the new potting medium. Add a small amount of potting medium to the pot and secure the plant with a stake.
Orchids have a reputation for being delicate, temperamental plants. But they thrive in many warm windowsills and under sunlight. The trick is to give them a little extra attention when repotting them by following the steps above. Even for an amateur green thumb, it’s an easy task that can bring you years of enjoyment from this elegant plant.